Adding noise to an image is a technique that introduces a fine, grainy texture to a photo. Photographers and designers often use it to mimic analog film, add mood, or break up overly smooth digital surfaces. Whether you want a subtle grain for a vintage look or a strong texture for an artistic project, this guide explains several practical ways to add noise to an image using mobile apps and desktop editors. You will learn why noise matters, which tools are easiest to use, and how to avoid common mistakes.
What Does Adding Noise to an Image Mean?
Noise in photography refers to random variations in brightness and color that appear as small specks or grain across an image. In digital cameras, noise is usually considered a flaw caused by high ISO settings or low light. However, when added intentionally, noise becomes a creative tool. It can soften harsh digital sharpness, unify different elements in a composite, or recreate the organic feel of film photography.
There are two main types of noise: luminance noise, which affects brightness only and looks like classic film grain, and color noise, which introduces random red, green, and blue pixels. For a natural film look, most editors prefer luminance noise because it feels less distracting and more authentic. Understanding the difference helps you choose the right settings for your image.
Why Add Noise to Your Photos?
Adding noise is not just about making a photo look old. It serves several practical and artistic purposes. First, it adds texture to flat or heavily edited areas, such as skies, skin, or gradients, where banding can occur. Second, it helps digital images blend more naturally with scanned film or vintage elements. Third, a subtle grain can make a photo feel more cinematic and less sterile.
Designers also add noise to give illustrations, posters, and social media graphics a tactile, printed quality. A small amount of grain can make an otherwise perfect digital render feel more human and less computer generated. If you have ever wondered why some portraits look warm and romantic while others look too clean, noise is often part of the answer.
Methods to Add Noise to an Image
There are many ways to add noise, ranging from AI powered mobile apps to professional desktop editors. The best method depends on your skill level, the device you are using, and how much control you want. Below are three reliable approaches, each with step by step instructions.
Using Beyo to Add Noise with AI Style Transfer
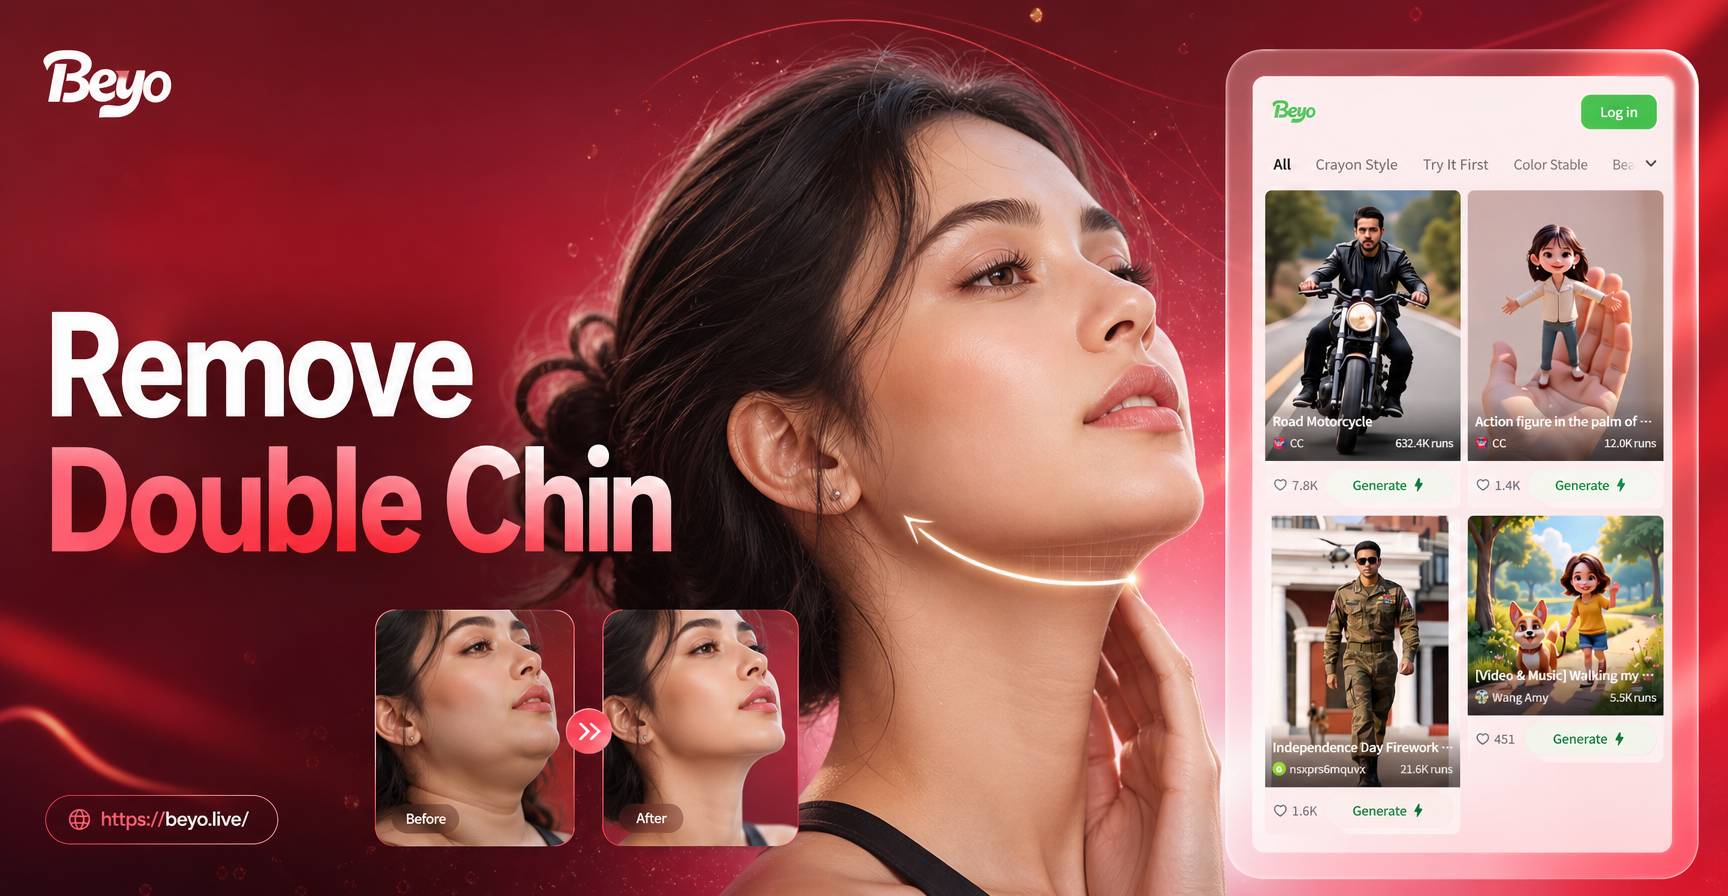
Beyo is a mobile design app that includes image to image generation and a huge library of style templates. You can use it to apply a film grain or noise effect to any photo without adjusting complex sliders. Start by downloading the Beyo app from Google Play. Open the app and choose the image to image feature. Upload the photo you want to edit. Then browse the style templates and look for a texture, film, vintage, or grain option. Select the one that matches your desired look. The AI will process your image and apply a subtle or strong noise effect while preserving the main subject. After generation, you can save the result and share it directly.
This method is ideal for beginners because it takes less than a minute and requires no manual settings. You can also combine noise with other style changes, such as color grading or soft focus, to create a unified look. If the first result is too strong, try a different template or upload the generated image again with a lighter style. Beyo is a good fit when you want a creative, app based workflow without learning professional software.
Desktop Editors: Photoshop and Lightroom
For more precise control, Adobe Photoshop and Lightroom are powerful choices. In Photoshop, open your image and duplicate the background layer. Go to Filter, then Noise, then Add Noise. Choose an amount between 2 and 12 percent for a subtle grain. Select Gaussian distribution and check the Monochromatic box to avoid color speckles. Click OK. Then change the layer blend mode to Overlay or Soft Light and reduce the layer opacity until the grain looks natural. This non destructive method lets you adjust the effect later.
In Lightroom, go to the Effects panel and find the Grain section. Increase the Amount slider, then adjust Size and Roughness to control the grain appearance. A small amount with medium size and low roughness works well for portraits. For a more vintage feel, increase roughness slightly. Lightroom is convenient because you can apply grain to multiple photos at once using presets or sync settings.
Mobile Apps for Quick Grain Effects
Beyond Beyo, several mobile apps include built in film grain filters. Apps like VSCO, Snapseed, and Afterlight let you add noise with a single tap. In Snapseed, open your photo, tap Tools, then choose Grainy Film. Pick a preset and adjust the grain strength and style intensity. VSCO offers film emulation filters that combine color shifts with natural grain. These apps are useful when you want a quick result from your phone without downloading a dedicated AI tool.
When using mobile apps, remember that the grain effect may be baked into the image after export. Always keep a copy of the original photo in case you want to reduce the effect later. The simplest approach is to apply the filter, then save a duplicate rather than overwriting the original file.
How to Control Noise for Different Looks
The amount of noise you add depends on the final output. For a clean, professional photo, aim for a grain amount between 2 and 5 percent. This level adds texture without distracting from the subject. For a cinematic or film inspired portrait, use 5 to 10 percent grain with medium roughness. For an artistic, vintage, or grunge style, you can go up to 15 percent or more, but be careful not to destroy important details.
Pay attention to the image resolution. Small images with heavy noise may look muddy when viewed at full size. High resolution photos can handle more grain because the texture remains fine. If you plan to print the image, test a small section first to see how the noise appears on paper. Digital screens often soften grain, while prints may make it more visible.
Common Mistakes to Avoid
One of the most frequent mistakes is adding color noise when you only want luminance grain. Color noise produces unwanted specks of red, green, or blue that can make a photo look messy. Always enable the monochromatic or black and white noise option if available. Another mistake is applying the same grain setting to every image. Portraits, landscapes, and product shots benefit from different grain levels, so adjust the amount and size based on the photo content.
Over sharpening after adding noise is another issue. If you add grain and then sharpen the image, the grain becomes more pronounced and can create an ugly crunch. Apply sharpening first, then add noise as the final step. Finally, avoid using a low resolution source image for a high grain effect. The result will look blocky and unnatural. Start with the highest quality version of your photo.
When Not to Add Noise
Adding noise is not always the right choice. Product photography, ecommerce images, and corporate headshots usually benefit from clean, smooth edits. In these cases, visible grain may reduce perceived quality. Medical or scientific images should also remain as accurate and noise free as possible. If your image will be heavily compressed for social media, a small amount of noise can survive compression and look fine, but strong grain may create artifacts. Use noise intentionally, not as a default effect for every project.
Final Thoughts
Learning how to add noise to an image opens up many creative possibilities. Whether you use a quick mobile filter or a professional editor, the key is to match the grain to the mood and purpose of the photo. Start with a light touch, preview at full size, and adjust until the texture feels like a natural part of the image rather than an afterthought. With practice, you will develop an eye for the right amount of noise and know exactly which tools to reach for.
If you want the fastest route, download Beyo and try the image to image style templates. The app removes the technical barriers and lets you experiment with different film looks in seconds. Once you find a grain style you like, you can apply it consistently across your photos for a cohesive portfolio or social media feed.